Levels
The next step is to adjust the contrast and brightness of the image, just don't use the brightness and contrast slider, or you will die.

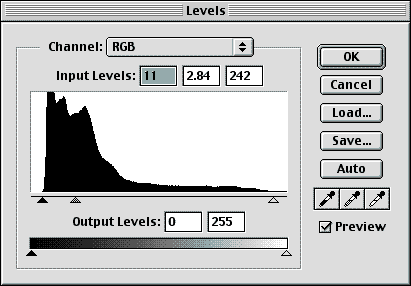
- make a levels adjustment layer in the layers palette (icon shown above). Making an adjustment layer is better because you can go back and change thins if you don't like what you see. Keep in mind it is always better to use adjustment layers, masks, painting layers, this keeps the original picture unchanged so you can correct your mistakes.
- set a black point by pulling the black slider to where the black starts on the left side of the histogram.
- set a white point to where the white begins to start at the white end of the histogram.
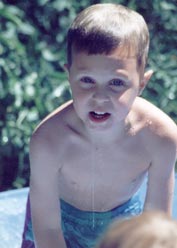
- lighten the image by dragging the midtone slider until the midtones are at the right level. You can see in the example that it started out as a fairly dark image and therefore required quite a slide to lighten it up, most pictures won't need that much of a change.
- after adjusting the midtones the image may be a bit washed out, you can spruce up the contrast by bringing in the black and white points just a touch
- after you like what you see hit return.
A few points
- there is no exact way of doing any of this, just adjust away until you like the results. Be careful not to go too far, subtle changes are always better than obvious ones.
- never use the auto adjust button, it is evil.
- you can save and load adjustment settings for use on other images. Handy for when you have to adjust multiple images taken under the same lighting conditions. It makes it easier and lets you have a consistent look throughout all of the images.
|
 

from dark to blue in three easy steps
|
