|
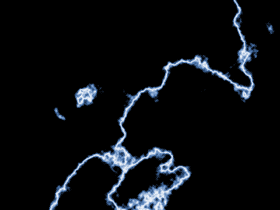
Scary Lightning
|
|
- Create a new image at 640 x 480 72 dpi
- press D to make your colors black (foreground) and white (background)
- select the gradient tool and select foreground to background gradient and on the linear gradient option
- click and drag across the entire page
- now go to Filter>Render>Difference Clouds to apply the difference clouds filter (there should be puffy clouds)
- Now invert the image by pressing command-I (or Image>Adjust>Invert if you're a wuss). Magically, black is now white!!
- Open the levels controls with command-L and drag the black input slider almost all the way to the right (thus making most of the gray in the image black) until you get your lightning bolt with just a touch of haze around it.
- Now make your bolt blue by opening the Hue and Saturation box by pressing command-U (for the faint of heart Image>Adjust>Hue and Saturation)
- hitting the colorize check box will give the white in the image a hue (otherwise you would not be able to adjust it).
- slide the hue slider to around 225 to give a blue tint (or find any color you want)
- slide the saturation and lightness to taste
- you can give your bolt some more haze by using the Filter>Distort>Diffuse Glow filter
|
 |
As you slide around the levels sliders in this example you should gain a better understanding of how you can manipulate the midtones of an image with the levels dialogue box.
|
|
|
|
